What is your group?
It is a function to group multiple divisions.
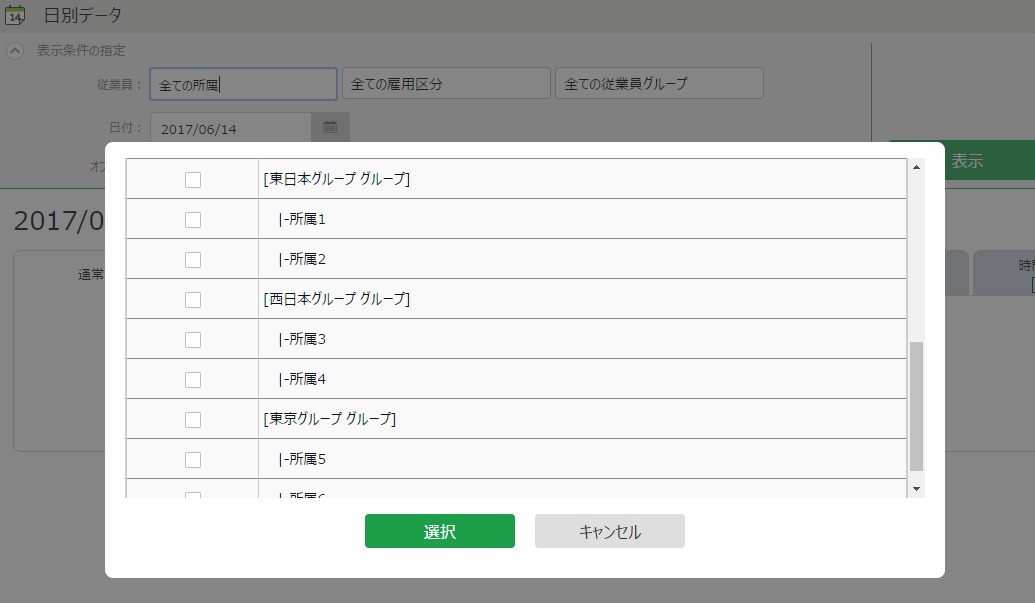
You can use it to narrow down the target employee data on the work data display screen (daily data, monthly data, etc.), data export, schedule management screen, etc.
Requirement
Settings > Other > Options > "Attendance Management Settings" category> "Division Group Function"
"Apply" must be selected.
Then, the group settings will be displayed in Settings > Organization .
Setting procedure of belonging group
I will explain the setting procedure of the grouping allocation for employees.
Create a new group
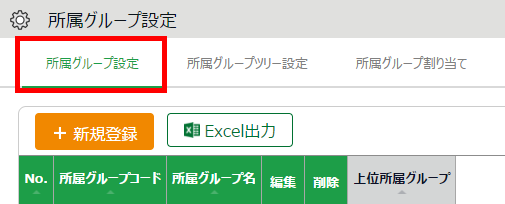
1. Open Settings > Organization> Division Group Settings.
On the "Division group settings" tab, click [Create New].
2. Enter the group code and group name to register.
| Item name | Description |
|---|---|
| Division group code | Enter up to 10 alphanumeric characters. It cannot be duplicated with other division group codes. |
| Division group name | Enter the name of the group (management unit such as sales office/area) within 20 characters. |
-Click [Edit] to change the name of an existing group.
-To delete the group to which was assigned, click [Delete].
Assign group
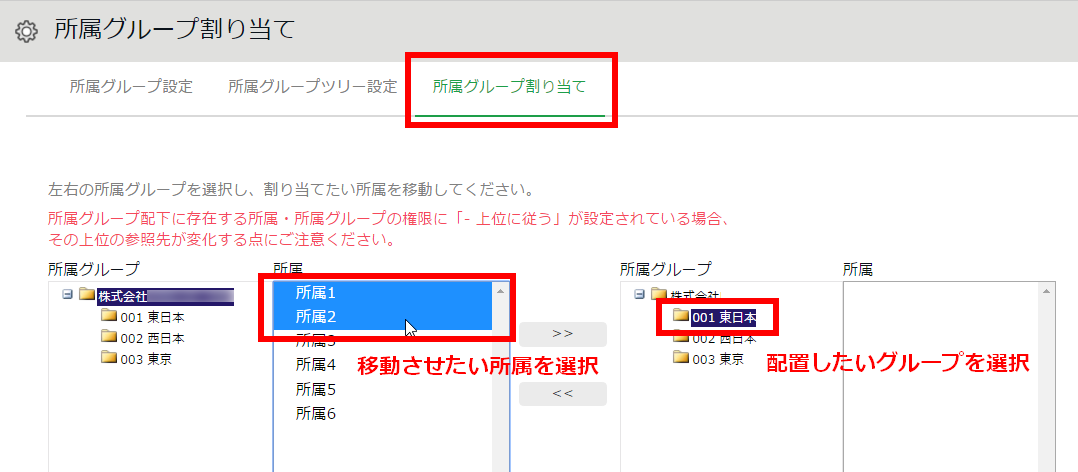
1. Click "Assign Group" in the upper left of the screen.
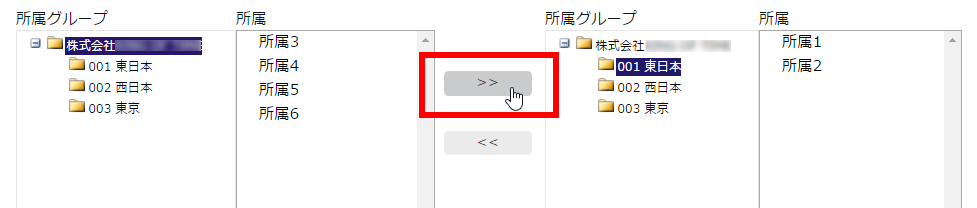
2. Select the group you want to move on the left side, select the group you want to assign on the right side, and press the arrow button in the middle to move it.
↓
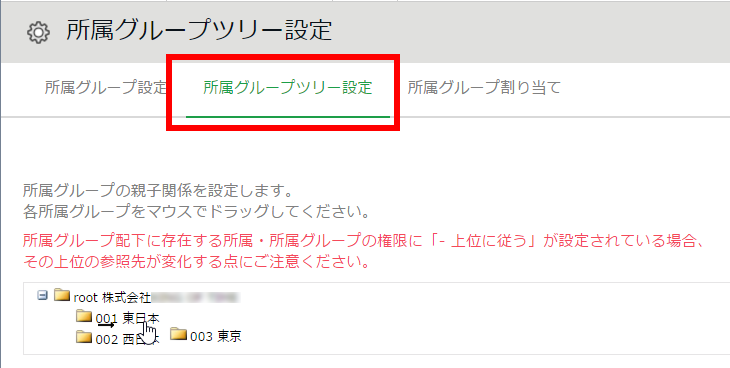
Set division group tree
You can set the parent-child relationship between the groups you belong to by clicking "Division group tree settings" in the upper left of the division group setting screen.
1. Drag and drop the icon of the group you want to change to change the parent-child relationship.
2. Click the [Register] button to display the confirmation screen. If there is no problem, confirm with [Register] again.
* Parent-child relationships can be set up to 10 levels.
If you set the division group tree, you can browse as shown below.