This screen allows you to create daily shifts while checking the employee schedules for each division the bar chart.
It can be displayed by either of the following procedures.
step 1
- "Daily data"> Select one division and click [Display].
- Click [Daily Schedule Settings].
step 2
- All menu > Schedule> " Schedule management」
- Specify the target division in the division selection box and the display period in the display period selection box, and click [Show].
- Click the date you want to shift input.

Conditions of use
Operate with a full-right administrator or a general administrator account that has the edit permission for "Schedule management".
Schedule registration method
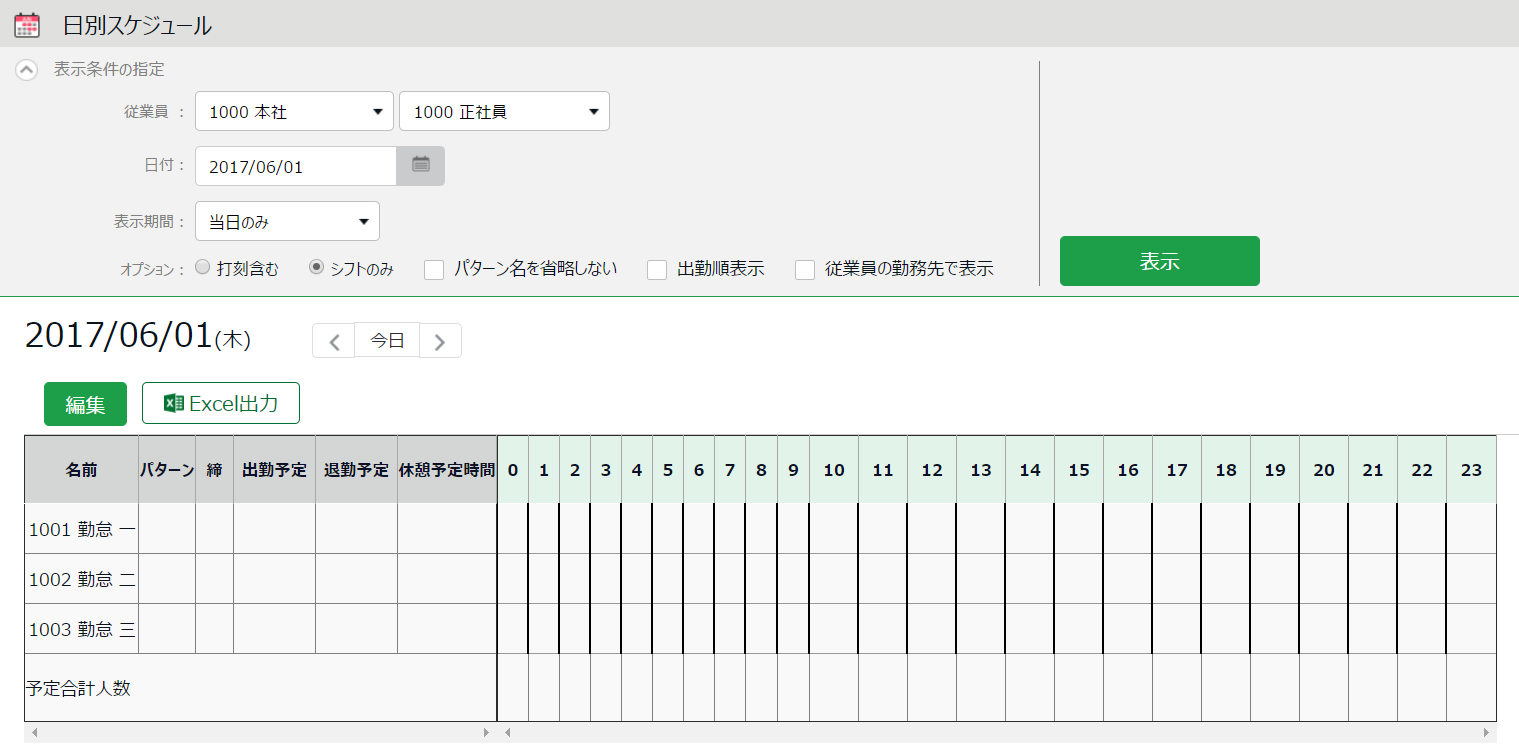
1. The daily schedule screen is displayed. Displays daily shifts in a 15 minute bar chart.
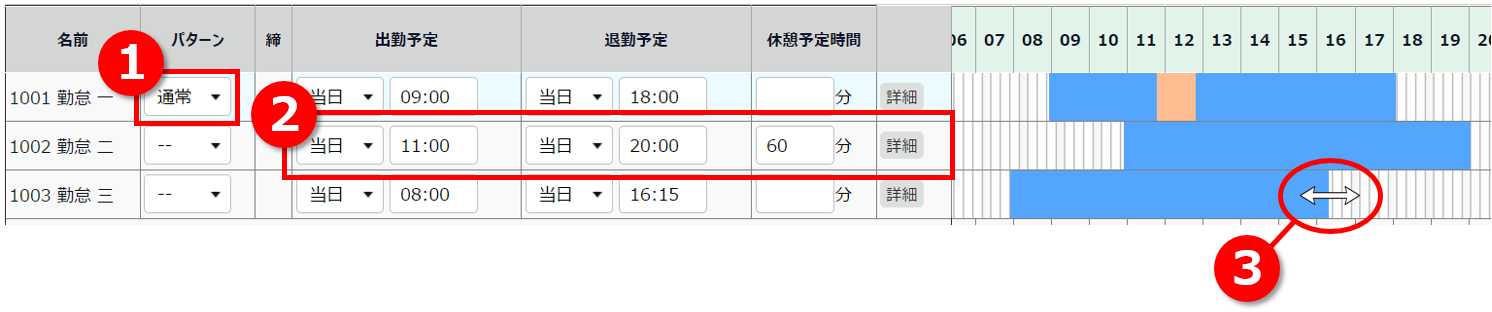
2. Click the [Edit] button to display the schedule registration screen. You can enter the schedule using one of the following methods.
(1) Select a pattern
(2) Enter attendance schedule
(3) Drag the end part of the bar chart
3. Click Save to confirm. This screen is displayed as a separate screen, so close the tab when you are finished with the operation.
Optional items
Here are five optional items.
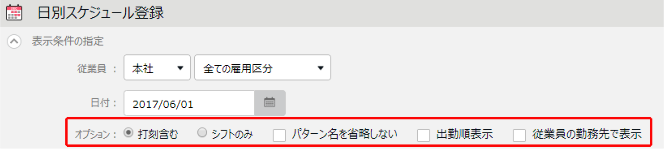
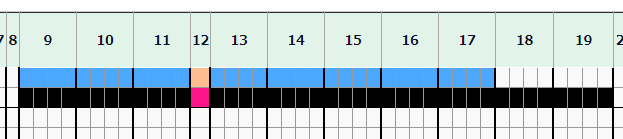
Include time record
The schedule time is displayed with a blue line, and the stamped results of the target day are displayed with a black line. The pink line is the break time.
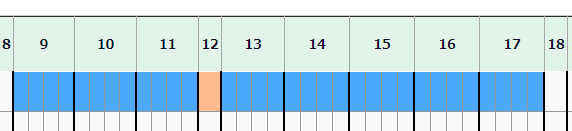
Shift only
The schedule time is displayed as a blue line.
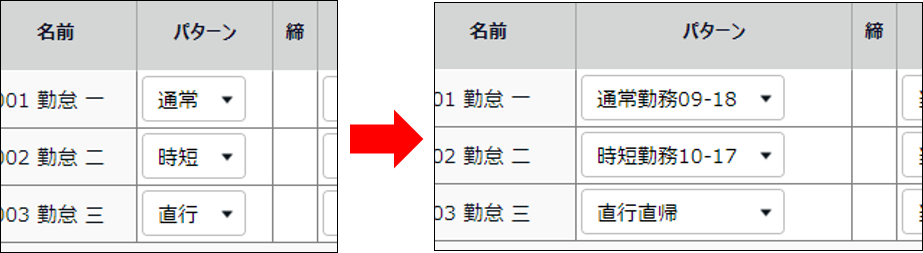
Do not shorten pattern name
All can be displayed without omitting the pattern name.
Clock-in order display
You can sort and display the scheduled work hours in ascending order.

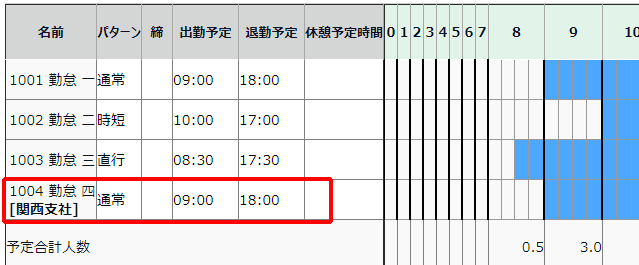
Display by employee work location
You can also display the schedules of employees who have worked for help in the target division.
Confirmation of "workable hours"
You can check the "workable hours" entered by employees and managers on this screen.
*Limited to customers who are using the "working hours setting function". If you would like to use it, please contact us from the inquiry form.
Customers who are using the "desired work time setting function" will have one more item in the options.
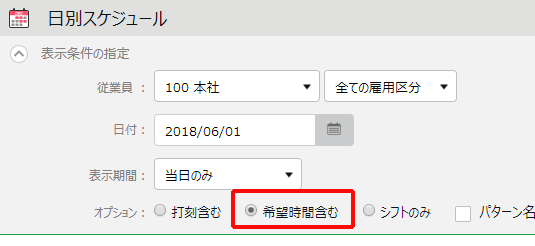
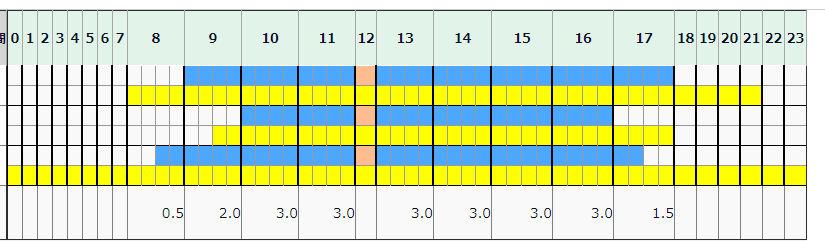
If you check "Include requested hours" and click [Show], the "workable time" entered by the employee or administrator will be displayed in a yellow line.
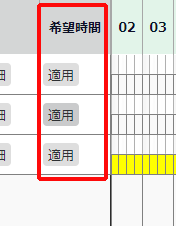
Also, when you enter [Edit], there is an item of "desired time". Click [Apply] to register the available work hours as a schedule.
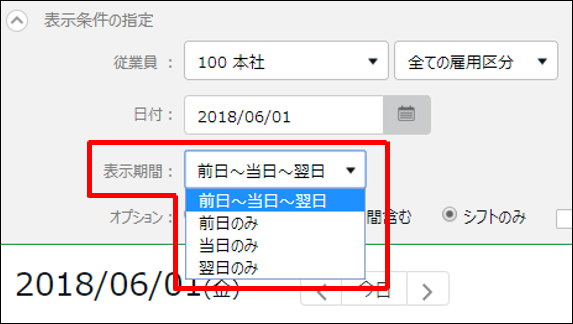
Display period
By default, the display period of the "Daily schedule setting" screen is "current day" , but you can change the setting to display the period from the previous day to the next day in the support center. If you wish, please contact us from the inquiry form.
If you change the setting, you can select the display period as shown below.