With KING OF TIME, various settings can be made for each company.
I logged in to the management screen but ...
There are so many features that I don't know where to start ...
For such customers, first of all, we will guide you through this content until you can start time attendance.
Time attendance starts in 4 steps ! !
Table of contents
- STEP 1 Create "division"
- STEP 2 Create an employee type
- STEP 3 Register employees
- STEP 4 Set the time recorder
* Check STEP1 to 4 with a video (* external link)
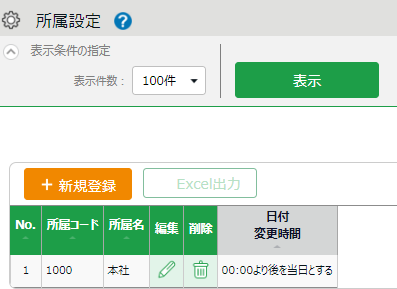
STEP 1 Create "division"
First, register a base such as a store or office.
If the location of the time recorder and the application approval flow are divided by team, please register in the minimum unit.
Example 1
Attendance at "Headquarters" and "Osaka Branch".
→ Let's create a "head office" and an "Osaka branch".
Example 2
We plan to work and record all employees attendance at the “head office”, but we would like to separate the application approval flow for paid leave applications.
- Employee → Apply to section manager
- Section manager → Apply to department manager / Department manager → Apply to president
→ Let's create three divisions - Headquarters, Headquarters (section manager), Headquarters (manager).
By default, “Headquarters” is registered. There is no problem if you change the division code or division name.
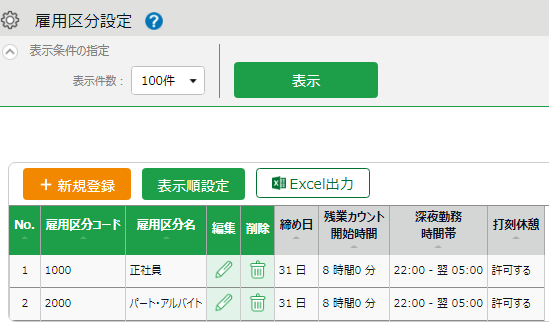
STEP 2 Create an employee type
Next, register the employee type such as full-time employees and part-time employees.
It will be the place to set the calculation rules, so please register separately if the closing date and overtime calculation rules are different even for the same employee type.
Example 1
Although the employment form of "regular employees" is the same, there are some employees who work overtime for over 7H and overtime work for over 8H.
→ Let's create "regular employee (7H)" and "regular employee (8H)".
Example 2
Part-time employees have the same overtime calculation, but there are employees who close on the 10th and 20th.
→ Let's create "Part-time employees (10 days closed)" and "Part-time employees (20 days closed)".
By default, "regular employee" and "part-time employees" are registered. There is no problem if you change the division code, division name and settings and use it freely.
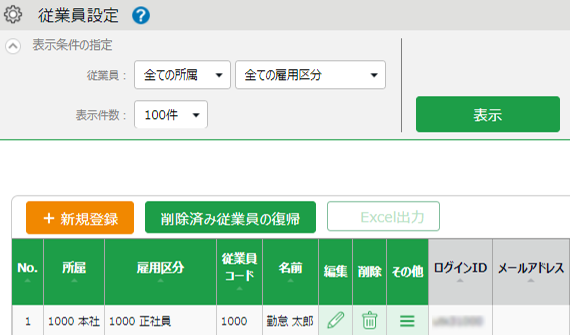
STEP 3 Register employees
Register the employee who records attendance.
Basic setting items
| Item name | Description |
|---|---|
| Employee code * | Register the code that recognizes the employee. (Up to 3-10 characters) |
| First and last name* | Register the employee's name. (Up to 40 characters each) |
| Email address | It is necessary when sending the My Recorder URL in STEP4. It is also used as an email notification destination when approving an application. |
| ② Reference time 165.0 | I made a collaboration with LINE WORKS for the first time today (June 11th). |
| Division※ | Select the division created in STEP1. |
| Employee type* | Select the employee type created in STEP2. |
| Hired date | It is used when managing paid leave. In addition, attendances cannot be recorded before the date of joining the company. |
*Required items
*If you do not select the division and employee type, the [Save] button will not be displayed.
With the introduction of LINE WORKS from July, it can be linked with LINE WORKS
*Please note that after the introduction, any attendances recorded in the billing month will be charged.
STEP 4 Set the time recorder
Lastly, let's set up a time recorder for employees to record attendance.
There are "division" and "personal" time recorders, and the setting points are different for each.
For "personal" time recording, use " My recorder". My recorder is a recorder that can be used to clock in on a PC, mobile phone, or smartphone on an individual basis. For the settings of My Recorder, click here .
Operation is started !
Check the actual display and accounting by testing time record.
A PDF version of the Quick Start Guide is also available.
Online help
KING OF TIME can realize various calculations according to work rules with its rich functions. Please refer to the online help for any problems you may have, such as how to set the administration screen or how to apply on the employee screen .
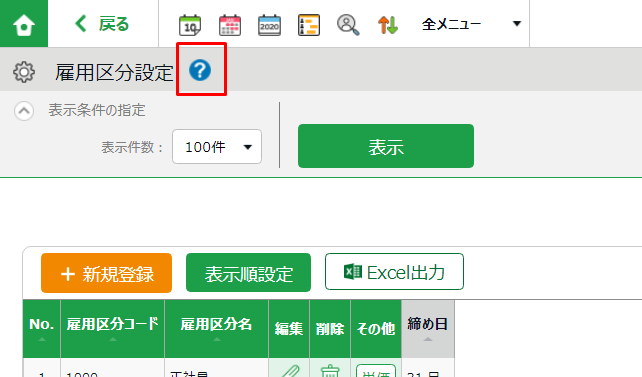
[? ] Click the mark to display the online help screen.
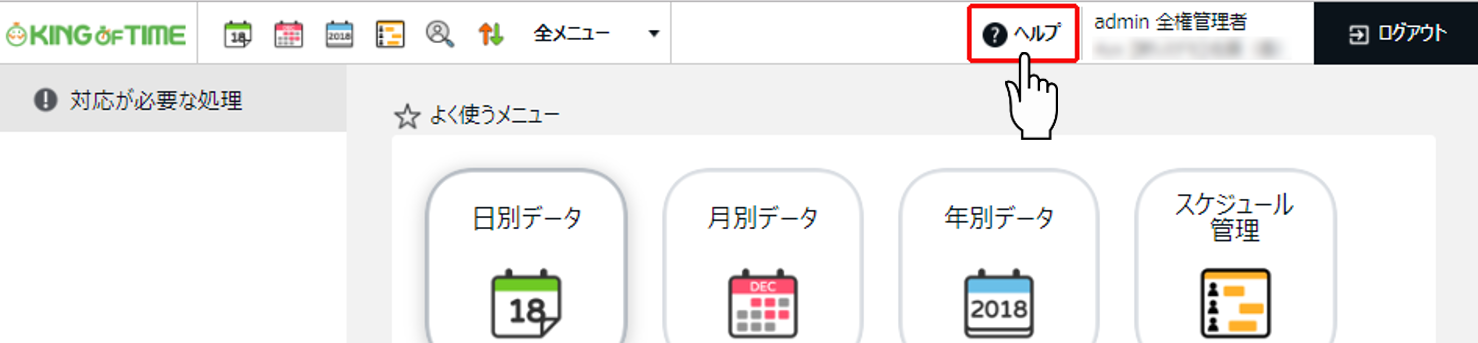
Also, [? ] There is also a FAQ content button marked . If you click the FAQ content button, you can check the operation method and setting method of the open screen, so please use it as well.